Loading...
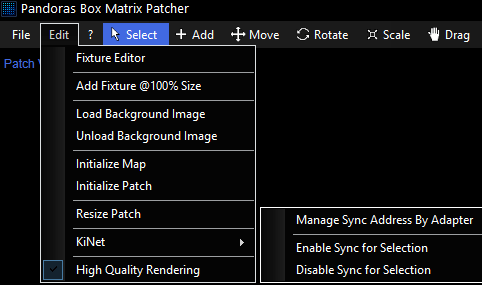
This chapter explains the Edit Menu of the Matrix Patcher. For other sections of the user interface see the introductory chapter.

From within the Edit Menu you have access to the Fixture Editor to create or modify your fixtures.
Adds new tiles with a scaling factor of 100% - per default it is set to 500%. This command is especially useful when working with Video Tiles.
This option opens a Windows explorer dialog where you may select an image to be loaded as background image in order to simplify creating the patch. To display the image the option [Show BG] in the Patch Settings has to be enabled!
Unloads the background image.
Redraws the Map view. It discards all changes made there and applies all position / rotation / scale information from the Patch view. For more information please have a look at the ReMapping Guide.
Resets the Patch view. It discards all changes made there and resets all position / rotation / scale information.
Choose the new patch size (Width and Height, in px) in the pop-up dialog. Please make sure to match the display resolution of the Pandoras Box Client exactly!
Ticks the checkbox Sync for KiNet Port in the Fixture Properties – Patch.
Unticks the checkbox Sync for KiNet Port in the Fixture Properties – Patch.
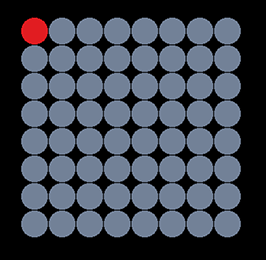
This option displays the fixtures either with high or low rendering quality, as seen in this example with the fixture ‘ColorWeb 125':
 "High Quality Rendering" enabled |
 "High Quality Rendering" disabled |