Loading...
The Scroller is designed to change the X or Y position of assigned media files in your Pandoras Box project, so that you can scroll through a certain amount of pictures.

To create a Scroller widget choose "Widgets > Buttons > Scroller (Horizontal or Vertical)". The mouse cursor changes to a crosshairs icon, indicating the create mode. Each left-click adds the selected widget to the current page. To quit the create mode, you can switch to the run mode with [F8], where you can use all widgets. Most widgets however need to be set up first.
To edit the Scroller properties simply right-click it and choose the first menu entry "Scroller Properties". Alternatively, you can press [Alt + P] whilst the mouse is hovering above it or switch to the edit / move mode with [F9] and double-click on it. The Scroller property dialog opens up.
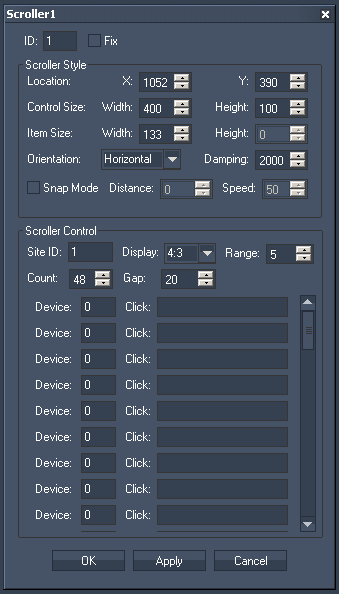
The property dialog is divided into two sections: the Scroller Style and the Scroller Control.
ID:
The Scroller's ID may be changed by entering a new one in the text field top left.
Fix:
When the option "Fix" is checked, the Scroller will be displayed on every page.
Location:
To position the scroller enter here the Scroller's X and Y Position (in px) or move it manually with the mouse over the WD user interface when being in the edit / move mode [F9].
Control Size:
To adjust the Scroller's size enter the desired values (in px) for Width and Height. Or scale the Scroller manually with the mouse at its corner down right when being in the edit / move mode [F9].
Item Size:
Choose here how wide an item on the scroller should be. According to the width of the items you may see more or less items on the Scroller's interface. The Height of an item can't be influenced here – it always refers to the Height of the Scroller's Size itself. To adjust the Height please change the Height for the Control Size.
Relation of the Control / Item Size and the layers in Pandoras Box:
The size of an item influences the size of a layer inside Pandoras Box. To have a layer in Pandoras Box (that is controlled via an Scroller Item) covering the whole output, the Scroller size has to cover the whole Height of the WD interface. The Width of the Scroller does not necessarily have to cover the whole width of the WD interface as long as the Item's width gets the width resolution of the WD interface.
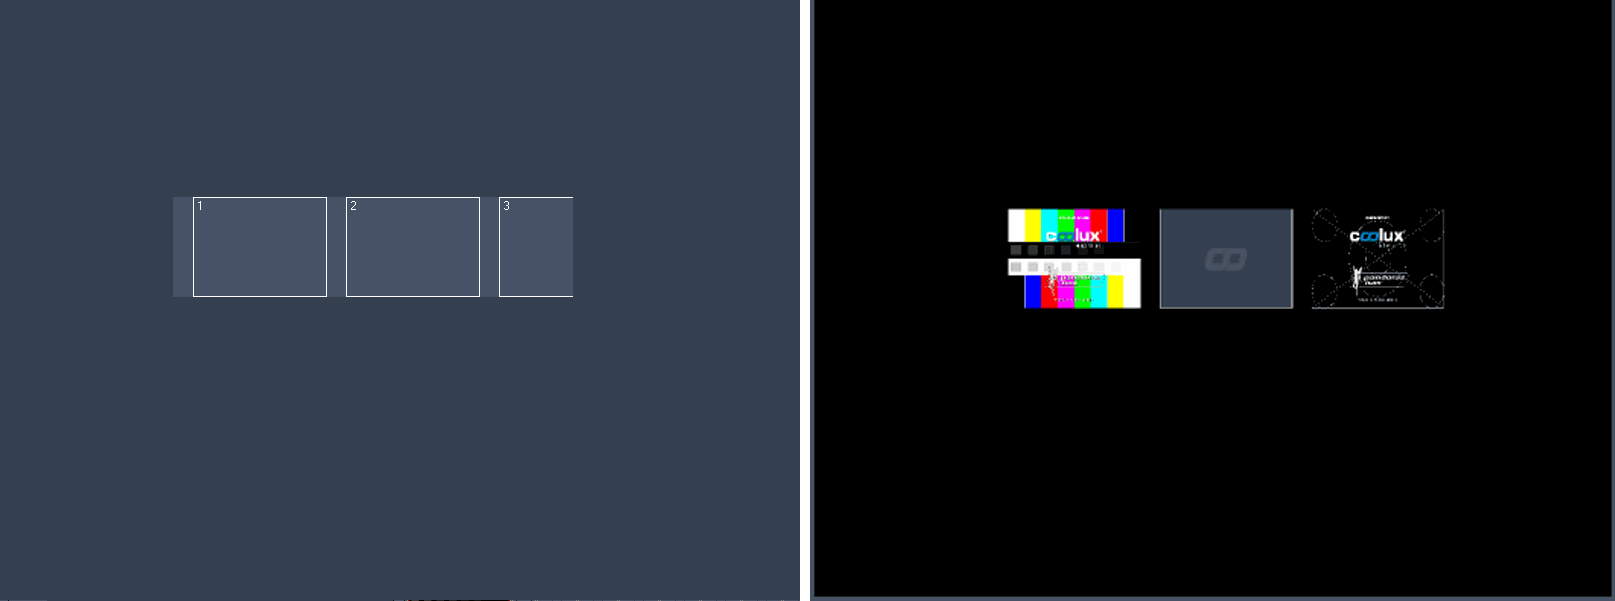
Example 1:
The Scroller in this example controls layers 1 through 3 in Pandoras Box. As you see the relation between the Scroller's size and the size of the whole WD interface is reflected in the Pandoras Box output.
Example 2:
The Scroller's location is now set to X/Y = 0/0 and the Scroller's Height got the same Height the WD interface covers (without adjusting any width value). To bring the layer in Pandoras Box to aspect ratio, at least the Width of the Scroller's Items has to be adjusted to the Width of the WD interface, see next example.
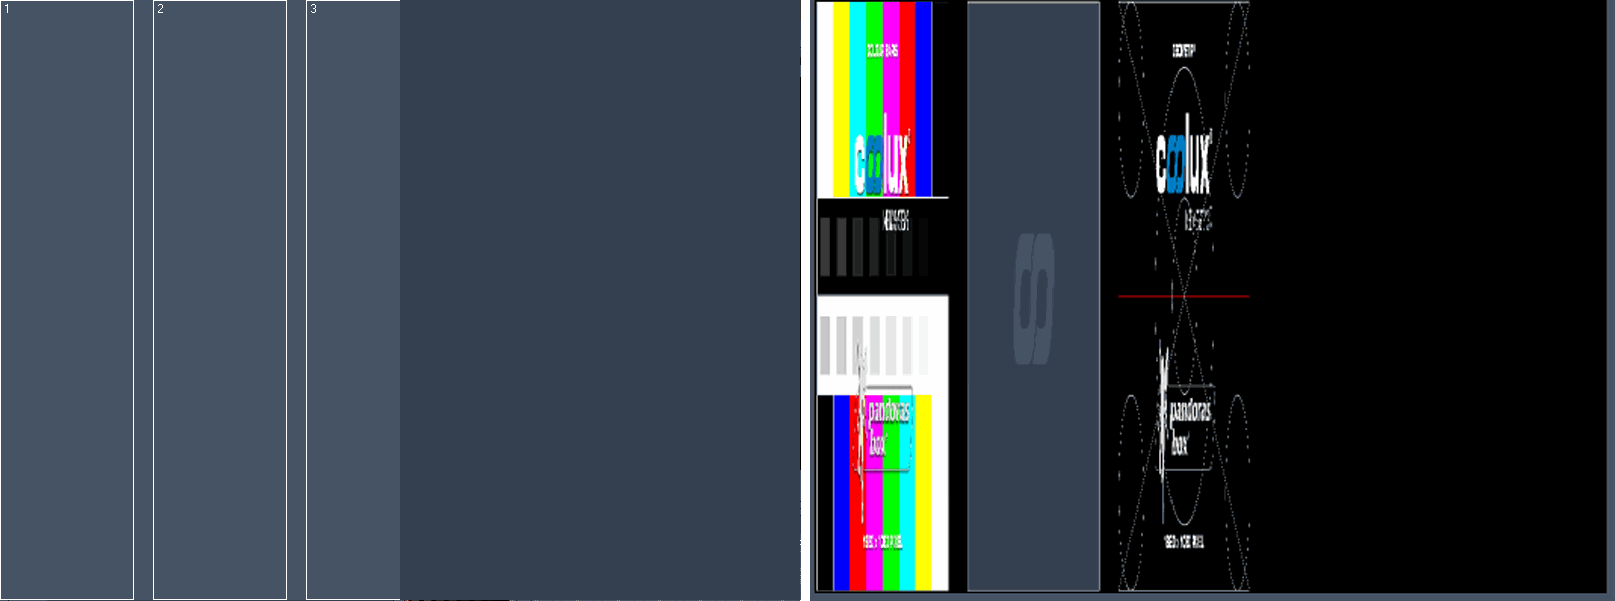
Example 3a:
The Scroller now covers the whole WD interface. The Item's Width is set to half of the Scroller's Width.
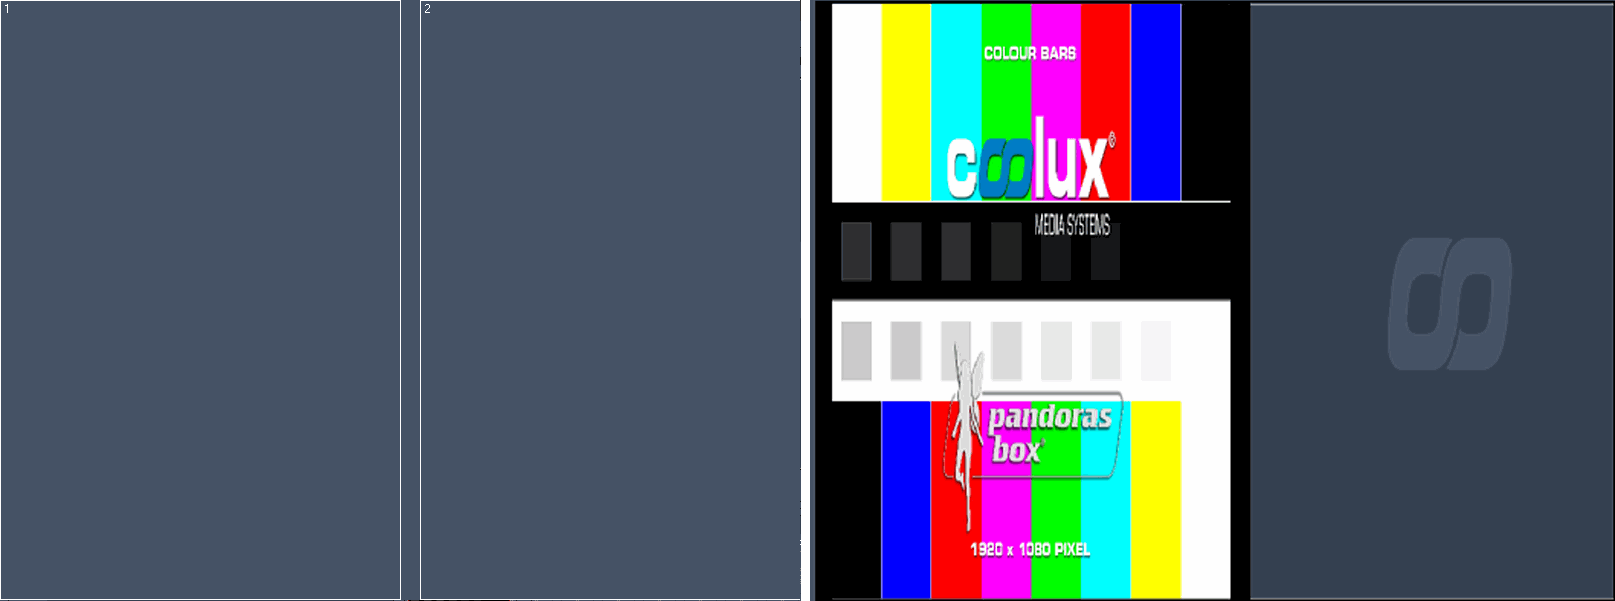
Example 3b:
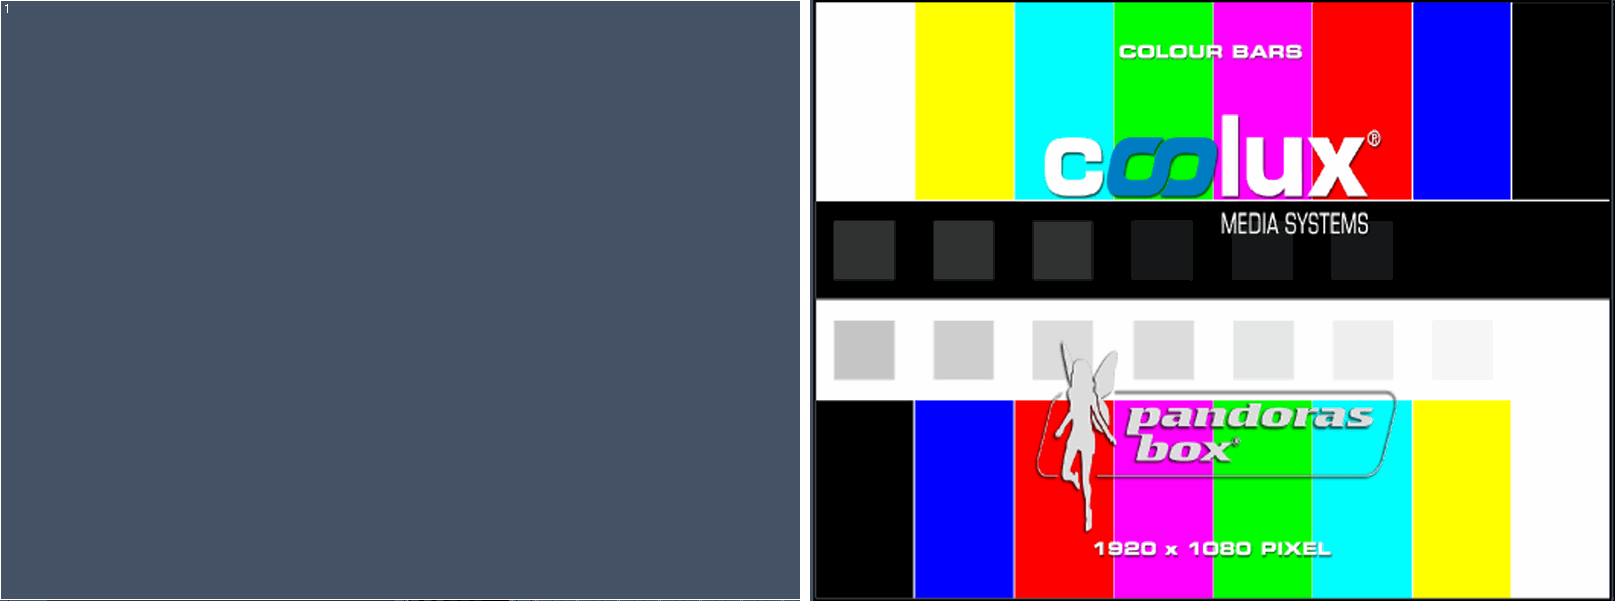
The Scroller covers the whole WD interface. The Item's Width is set to the Scroller's Width.
Orientation:
The Scroller can work horizontally and vertically, you may change its orientation here.
Damping:
The damping value influences the acceleration of the follow-up movement when the Scroller is released. The default value is set to 2000. The minimum value is 0 (no follow-up movement), the maximum value is 10000 (longest follow-up movement).
Snap Mode
Without the Snap Mode enabled the Items will be moved over the Scroller as far as you scroll the Scroller. When the Snap Mode is enabled and an Item is e.g.. moved about half of its width to the left, the Scroller will automatically go on scrolling until the next Item snaps at the Scroller's left border.
--> Distance:
The distance value (in px) defines how far you have to scroll the scroller until the snap mode snaps to the next Item. By default it is set to 0, so each small movement to the left or to the right will activate the snap mode to snap to the next Item to the left or to the right. If the distance is set to e.g.. the value 100, you have to scroll the scroller about 100 px to the left / right to let the snap mode snap to the next item to the left/right.
--> Speed:
The speed value defines how fast the scroller is scrolled to the next item when the snap mode is being activated: 100= max. speed, 1 = min. speed.
Site ID:
Enter here the Site ID of the site in Pandoras Box the Scroller should be linked to.
Display:
Please choose here the aspect ratio of the Pandoras Box output. This is important to bring the layers in Pandoras Box to the correct aspect ratio, according to the Scroller Item sizes.
Range:
The range value defines how far a selected Scroller Item has to be moved in order to generate a click on it, see explanation under Device / Click. The default value is 5, that means that within moving the Item 5 pixels to the left / right the Item won't be clicked. This range function is useful not to activate an item by fault.
Count:
Set here the amount of Items visible in the Scroller and controllable in Pandoras Box.
Gap:
You may increase or decrease the gap between each Item by entering a new value (in px). It ranges from 0 (=no gap) up to 2048 (=max. gap).
Device / Click:
Set here the PB Layer ID (Device ID) which should be linked to each Item inside the Scroller.
Example:
Here the Count is set to 3, so only 3 Items are visible inside the Scroller and only 3 layers in PB can be controlled through the Scroller Items.
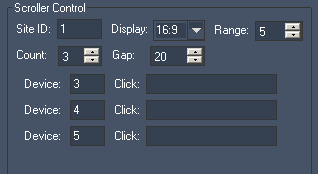
The devices are set so that:
Item 1 controls Layer 3 of site 1,
Item 2 controls Layer 4 of site 1,
Item 2 controls Layer 5 of site 1.
To execute a command when an Item is clicked please enter the command in the Click text field. The topic Script Language explains commands and how to use them in more detail.
As these small text fields do not offer a good overview when using multiple commands, working with macros is a good option.
See here a list of all commands. To reset the Scroller via a command (bringing it back to display the first Item), please use the following one:
WDScrollerReset,'ID'