Edit Menu |


|
Edit Menu |
|
Edit Menu |
|
Edit Menu |
|
Loading...
This chapter explains the Edit Menu of the Splitter tool. Please see the introductory chapter for an overview about the Splitter tool.
|
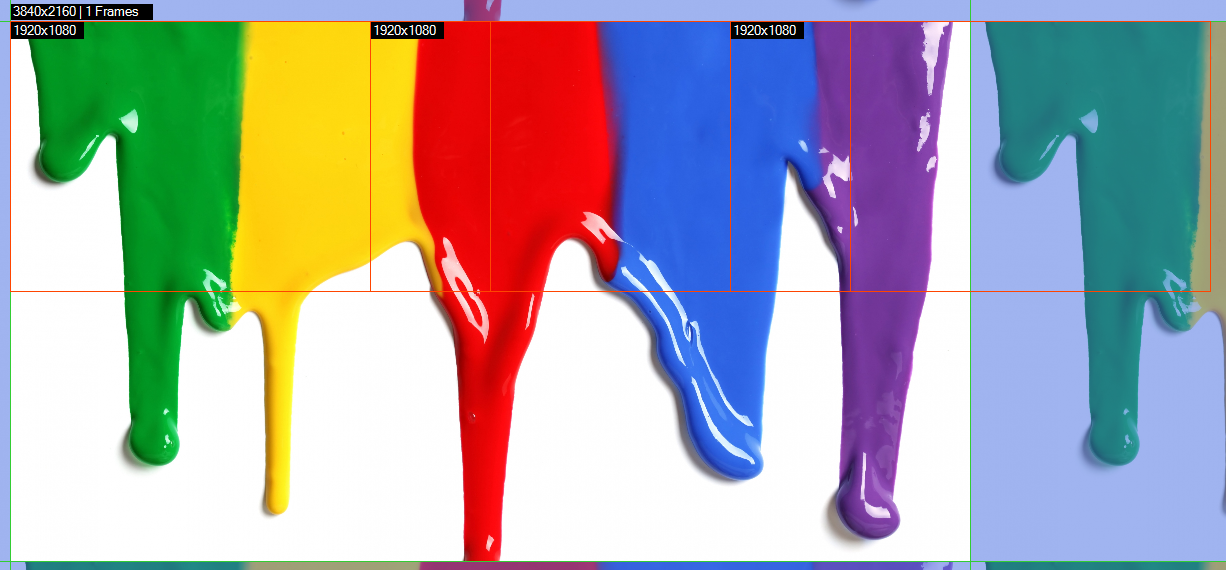
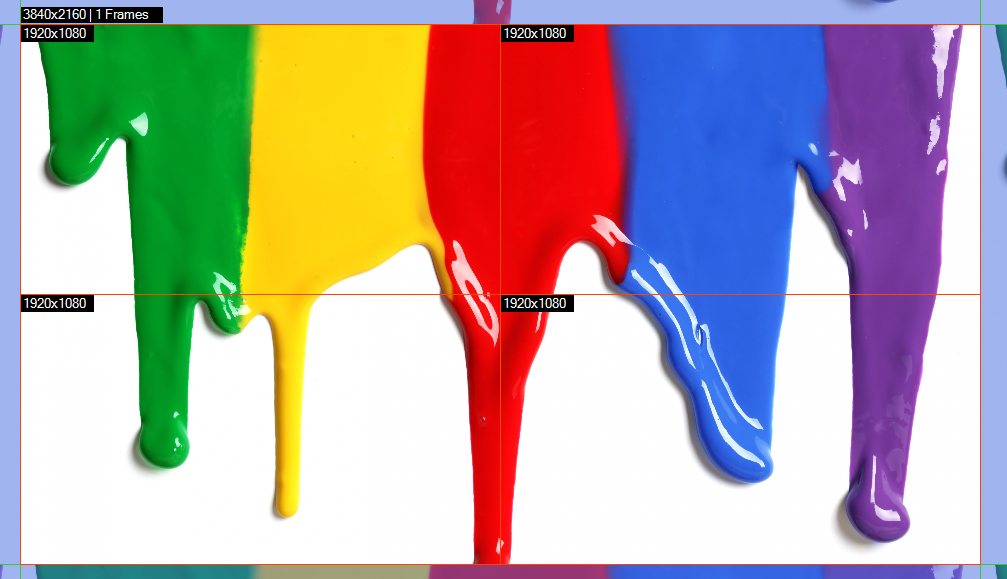
Example: |
|
|
Example: |
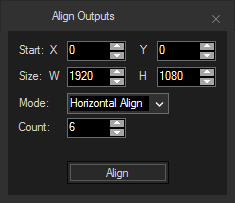
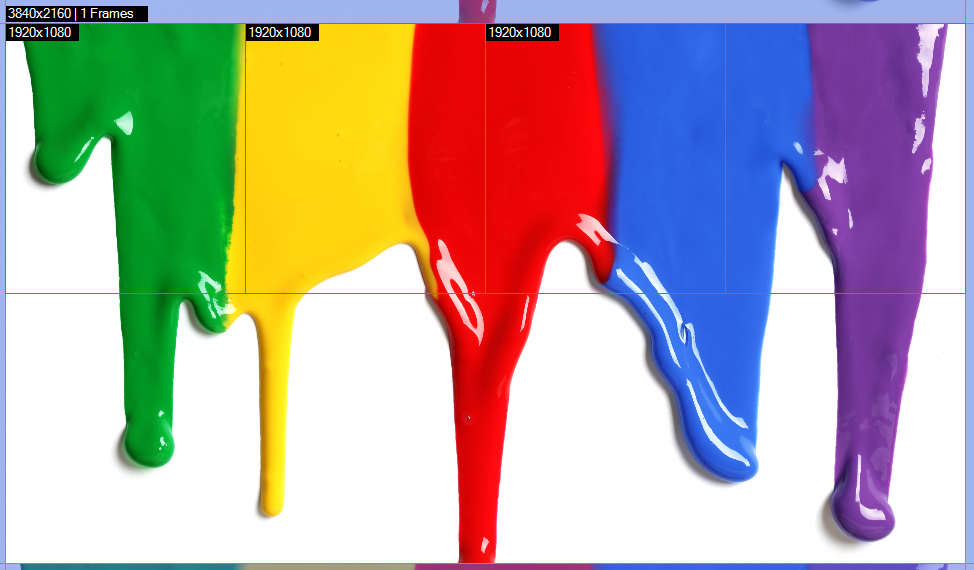
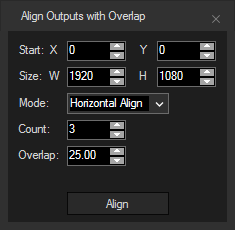
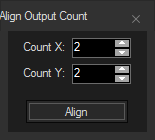 This option is useful when no overlap is needed and allows to specify: The Splitter tool then aligns the output regions accordingly starting at the upper left corner of the main file. The output regions will not overshoot the boundaries of the main file and no overlap is applied. Check whether the resulting resolution for each output region is sufficient, especially when exporting DDS image sequences or MPEG videos, as there are restrictions regarding the size. See also the option "Override Mpeg Size Limits" below. |
Example: |
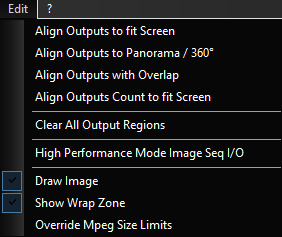
This option deletes all output regions. The next region you create, will become "Output0" again.
High Performance Mode Image Seq I/O
This option enables / disables the High Performance Mode for exporting Image Sequences.
This option displays/ hides the main image file in the main window.
This option displays/ hides the wrapping zone around the main image file in the main window.
This option is of interest when working with still images, image sequences or AVI. With the activated option "Override Mpeg Size Limits" you are free to set up any output region size.
According to the Mpeg specifications, the image width (in pixels) must be dividable by 16 and the height by 8. If you enter a region that does not conform to this specification, the Splitter corrects it automatically to the nearest smaller number allowed. For instance, a 33 pixel wide and 15 high region results in 32 x 8. If overriding the size limits, the output region can be 33 x 15. When using the Option in the File Menu to "Export Image Sequence + MPEG Video..." now, the exported MPEG file is being encoded without the specified settings and might cause unexpected issues when being played back.
The next chapters describes the Toolbar and main Window. The Splitter Workflow is summarized on the last page of this chapter.