Loading...

The "General" tab includes options that influence the appearance of the Warper interface. You may activate, deactivate or color certain visual objects. Some options are hidden in the basic mode and are only shown in the advanced mode. To activate it, open the "Edit" menu and choose "Advanced Mode".
The "Show IP" check box displays the computer's IP address at the bottom left corner of the screen. This is helpful when working with several instances of the Warper.
The "Screen ID" check box displays the Screen ID in the center of the screen. Choose an ID number from the list on the right.
Selects also neighboring mesh points within a particular radius. In the example depicted below, only one mesh point is originally selected (a), the surrounding once are soft selected automatically (b).
When the selection is moved (i.e. dragged using the mouse), the middle point is affected with the biggest possible offset. The further a point is away from the center, the smaller its offset gets (c and d). This is useful when you would like to correct areas within your mesh without the result of having clear edges because the mesh points were not moved equably.
Set the radius with the numeric box. The default value for the radius is 1 generic unit. As a soft selection is affected differently than a normal multi-selection (where all points would move with the same offset), a soft selection is represented with another color. Per default it is yellow. If you would like to change it, click in the color field and choose your color in the newly opened color dialog.
a 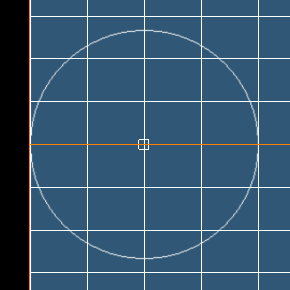 b
b 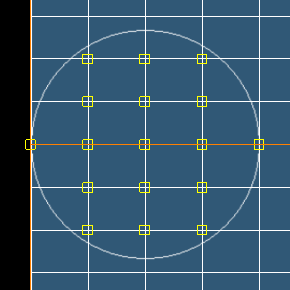 c
c 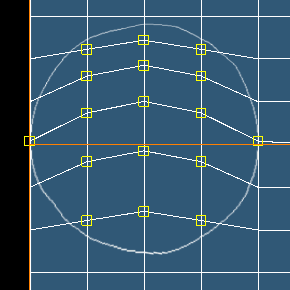 d
d 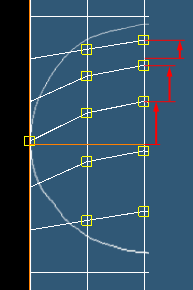
If this option is active, the position of the mouse cursor is clarified by showing a screen spanned horizontal and vertical line. You may set up how many pixels thick these two lines are and what color they have.
When working with a three-dimensional object there might be vertices that can not be seen from the current view point as another part of the object lies in front of them. The default setting - an inactive backface selection - lets you only select those vertices that are visible in the current view. An activated backface selection will select all vertices within your selection rectangle (drawn with the mouse). This option might need more time depending on the number of vertices and the size of the rectangle.
Click into the specular color field to assign another color for the global light source. The specular light reflection enhances the three-dimensional look when the textured mode is active.
 With these color fields you may change the color of the mesh lines. It is useful to work with different grid colors if you have an overlap between two warping grids. Once the lines match exactly, the color of the doubled grid lines change. This lets you work more precisely. Click into the leftmost color field to open a dialog that lets you pick a color of your choice. The five color field to the right apply the depicted color directly.
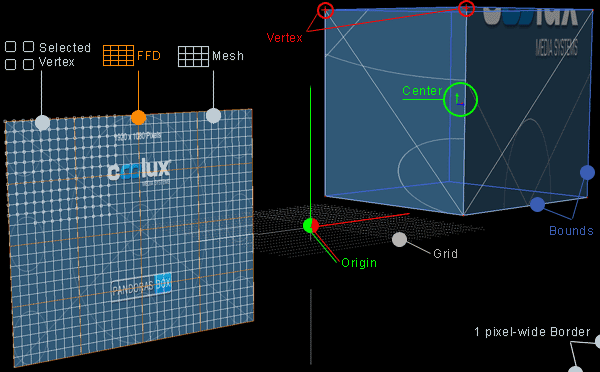
Click into the vertex color field to choose a different color for vertices / mesh points that are selected. Selected mesh points are indicated with a small rectangle.
Click into the BG color field to choose a different color for the background of the Warper interface. Activate the option "Show Background" and click the [...] button to display an image instead of a solid color.
Check / uncheck the boxes to show / hide different visual auxiliaries.
