Loading...
The Warper enables you to project on any screen shape. The Warper is a specialized, basic 3D modeling software using custom shapes with scalable free-form-deformers (FFD).
The application is included in the Pandoras Box installation and requires an attached dongle when started. Since Pandoras Box version 8 the full 3D edition is available for everybody. Before, the PB Player came with the 2D edition that had restricted features, e.g. no Z axis, object import, live warping, markers, camera settings etc.
More advanced objects can be imported from many 3D modeling programs as described in the topic " Third Party Software".
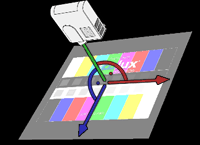 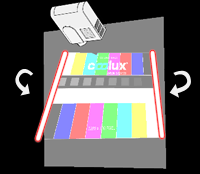 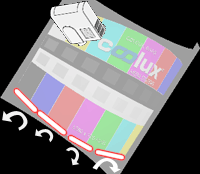 |
The main problem with projection surfaces that are not positioned perpendicularly to the projection axis is that the light source from the projector does not have the same distance to all projection points any more. A rectangular image is not rectangular any more and furthermore, the distances between particular points in the original image may be very different in the projected image. In short the projected image is distorted. The distortion relates to the shape of the screen (or object) and to the way the projector "looks" at it which includes the orientation and distance as well as all lens settings. The challenge is to output an image that will look correct, considering the viewpoint of the audience. On simple planar screens, the keystone parameters for the top, bottom, left and right side of the image can already achieve a satisfactory results (see left, middle image). As soon as the projection surface is not a single plane anymore, e.g. it is a bended screen or a more complex object like a cube the keystoning reaches its limit. |
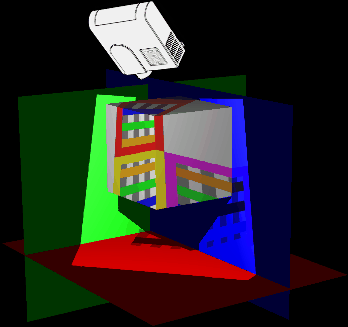 projection before ... . |
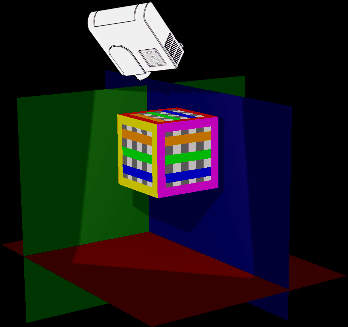 ... and after warping |
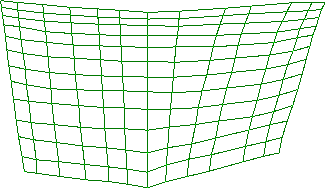 |
2D WarpingThe first approach is to create a 2D plane offering for example a grid with 100 intersection points. The entire plane and each individual point can be moved, scaled and rotated until the original image is distorted in a way that the projected image looks correct. The plane is then exported as an X file and applied to the PB output layer (or another layer) and acts like a map for each pixel of the original content. The advantage of the workflow is that you do not need to have any knowledge about 3D objects. You simply need to move the plane's intersection points until all lines are straight and all distances between certain points are equal. Measuring tools, tape to mark distances and (rotary) lasers can help you in that process and simplify and speed up the workflow. |
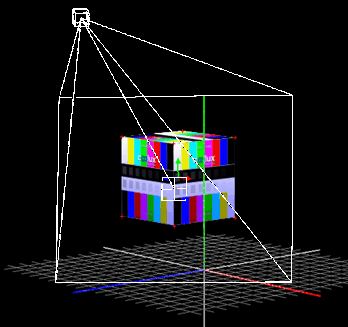 |
3D WarpingThe second approach is to represent the real 3D setup as a virtual 3D setup. It includes to import a 3D object into the Warper; the 3D model must match the real screen or object as accurately as possible. Then, the virtual camera in the Warper is set up in the same way as the projector looks at the real screen. For this, you need to adjust the camera's and the object's position, orientation and lens settings. Two ways to do this are manual measurement, described in the Camera/View tab and the automatic camera calibration based on markers, described in the Marker tab. This feature is available since Pandoras Box version 5.5. In addition, fine-tuning adjustments with the object's vertices can be done too. As soon as the virtual model and the virtual camera accord with the real screen and real projector the projected image looks correct. This workflow can be prepared beforehand. You may for example create the screen model using a 3D modeling program like 3ds Max and Maya from Autodesk, blender from Blender Foundation or CINEMA 4D from MAXON Computer GmbH. It is possible to setup the virtual settings for XYZ position of the object and the camera in accordance to available plans. |
For more information about how to use the Warper please refer to the following pages:
General 3D Modeling Terms
User Interface,
Warping Guide,
Keyboard Shortcuts