Loading...

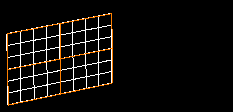
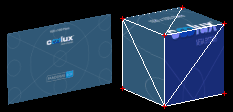
The "Texture" tab includes options that influence how meshes and objects appear in the Warper in terms of whether they are rendered with a texture or just in a wireframe mode. Some options are hidden in the basic mode and are only shown in the advanced mode. To activate it, open the "Edit" menu and choose "Advanced Mode".
 |
|
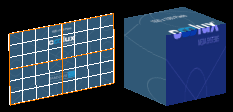 - Click the "Default Texture" button to return to the default view - Click the "Load Texture" button to browse to a picture of your choice - Click the "Video Input" button and choose an available input from the drop-down list. If needed you may flip the input horizontally or vertically All textures can be rendered with a full opacity (value 255) or a lower one. The Shortcut [G] toggles between the Wireframe/Grid and the Textured View. |
This is another function that should be mentioned in this Texture Section.
With the keyboard shortcut [D] you are able to toggle the visibility of selected faces. This could be handy if there are parts in the projection where you do not want to have anything textured, e.g. when there is the need to cut out doors on a stage design.
As you just toggle hard edged faces, this is more a rough masking function. To create a finer mask for your screen, please refer to Mask tab.
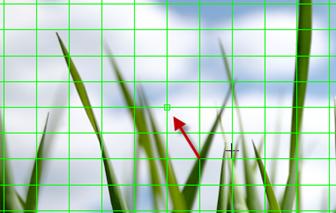
Please have a texture loaded to your mesh. To turn a face (the area surrounded by four mesh lines) to be invisible, select the mesh point that is down left of the face and press [D]. Turn several faces to be invisible when selecting more mesh points.
 |
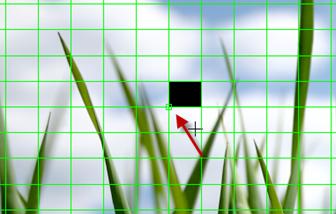 |
To reload the texture later on, select the same points and press [D] again.
To reload all hidden faces without selecting the according mesh points, use ‘Activate all Vertices' from the Edit Menu.