Loading...

The ScreenMasking Tool allows you to mask while painting onto the projected surface from within the Warper. After finishing the mask, export it as PNG file and use it on a high layer in Pandoras Box. This way the mask will perfectly match your warped surface. It is as well possible to open the PNG file with other graphical programs.
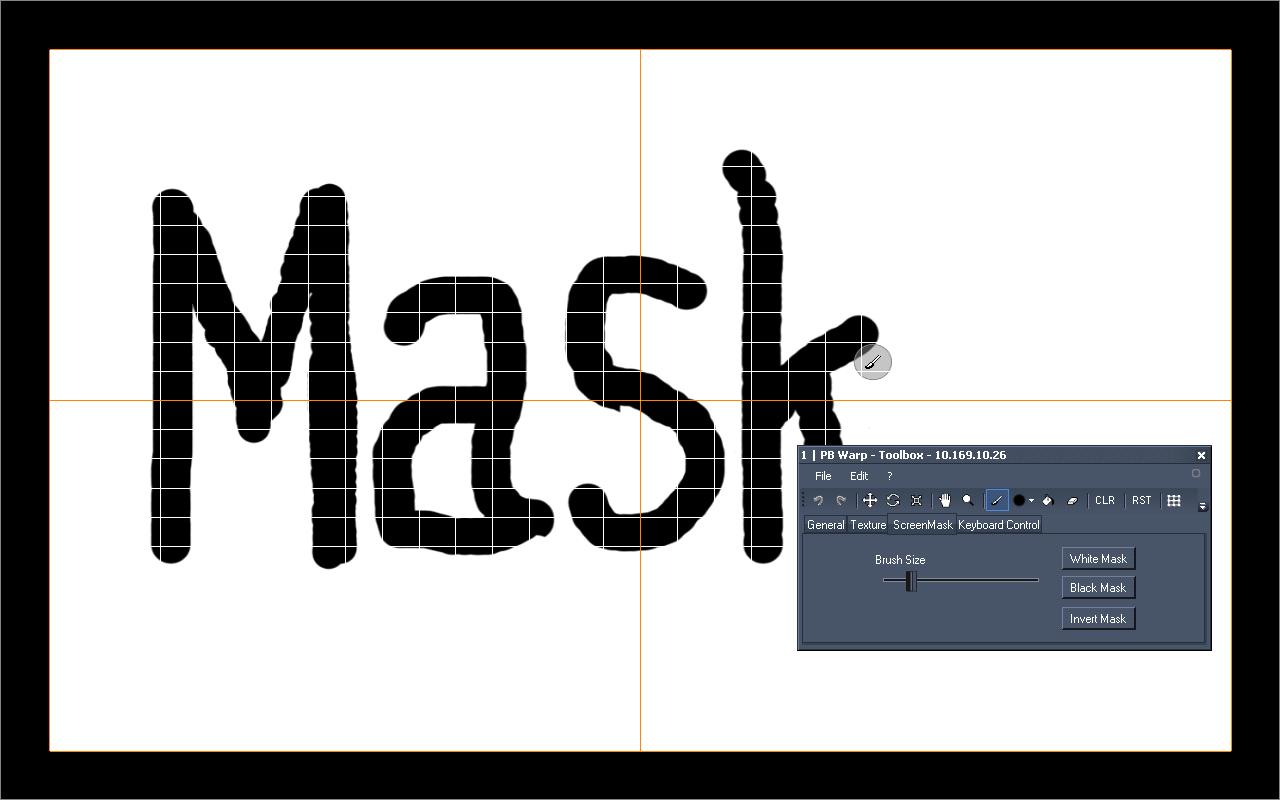 When changing to the ScreenMask tab, the grid disappears and you see a white plane instead. Everything what is white will turn transparent in the exported PNG file, i.e. it will not be visible and thus not hide underlying layers.
Now, select the Paint Mask Tool  from the Tools Bar and draw onto the background by holding the left mouse button clicked. Everything what is painted will be black, also in the exported PNG file. Thus it will cover underlying pixels when being exported to Pandoras Box.
The axis locks can be useful when wanting to draw a straight line.
If you want to remove parts of your paintings again, select the Erase Tool  from the Tools Bar and move your mouse with the left mouse button clicked.
Please note that due to the fact that each object within the project is applied with the same texture, all objects will as well show the same mask. If you would like to create individual masks for each mesh or 3D object, please save the project after finishing the first mask and apply a new mask to all objects to start with the second mask.
Per default the undo function does not cover the changes done in the mask as this consumes much memory space. However, if you would like to use the undo option, tick the check box "Enable Undo/Redo for Mask".
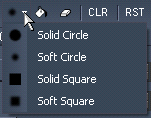 |
Choose a brush from the drop-down list in the Tools Bar. |
 |
Define the Brush Size by moving the slider left and right in the Mask tab. |
Click the "White Mask" button to get a plain white mask (all parts are transparent). Paint the parts that should be masked with the Painting Tool  .
.
Click the "Black Mask" button to get a plain black mask (all parts will be masked). Erase the parts that should NOT be masked with the Erase Tool  .
.
Click the "Texture Mask" button to use the normal texture as a mask background. You can set the texture in the Texture tab. According to the brightness of the texture's pixels, the exported mask will be transparent, partly transparent or nontransparent.
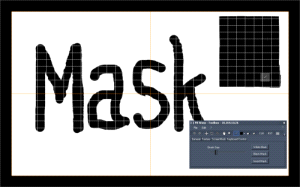
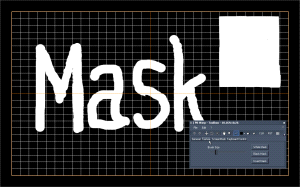
Click the "Invert Mask" button to invert the mask. An example could be the right image (b) as an inverted mask from the left one (a).
 |
 |
a) Black parts painted on white background |
b) White parts erased from a black background |
First of all the mask needs to be exported. Click on File > Save mask, browse to the location where you want to store your mask-file and name it. A PNG file will be created.
Use the mask on a layer in Pandoras Box that lies in front of other layers. It is a good practice to use the very last layer (before the Camera layers) and to rename this layer.
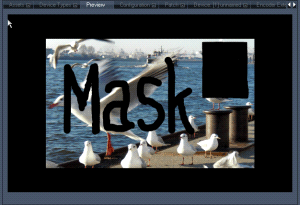 |
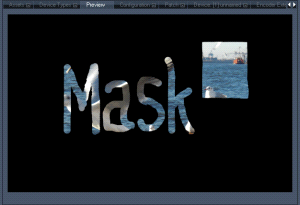 |
a) The mask from the example above is used in Pandoras Box on top of the content layer. |
b) The inverted mask from the example above is used in Pandoras Box on top of the content layer. |
The great benefit of this masking tool is the live painting on the projected surface, because this mask will exactly fit to your warping file.