Loading...

 Use this button to undo the last change done in the mesh, FFD or 3D object.
  Use this button to redo the last undone change.
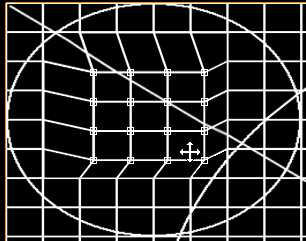
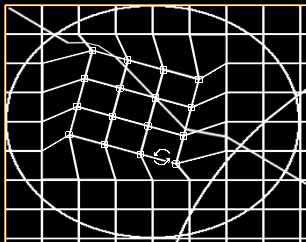
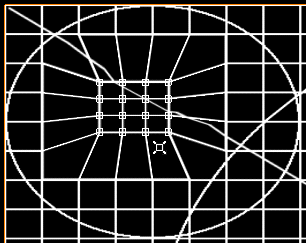
There are 3 possibilities to transform the selected mesh / FFD point(s) or entire object: you can either...
 move
move
 rotate or
 scale the selection.
The fourth tool works for mesh points only! If you would like to drag the entire texture, please use the tool "Drag Texture" as described below or the settings in the Mesh tab. The UV icon can only be seen in the advanced mode. To activate it, open the "Edit" menu and choose "Advanced Mode".
![]() drags the UV map within selected mesh points.
drags the UV map within selected mesh points.
Before moving points, decide whether you want to work with mesh points, FFD points or an object by switching to the according Edit mode. Then select some points:
- mouse: click on a single point to select it, hold down the [Ctrl] key additionally to multi-select points or drag a selection box
- keyboard: click the Up/Down/Left/Right key to select a single point and hold down the [Ctrl] key additionally to multi-select points
Now, there are 3 different ways of applying a transformation change:
- keyboard: you can move the selection with the shortcut [Shift + Up/Down/Left/Right arrow key]
- dialog: make a right-click on the move/rotate/scale icon to open the "Relative ... Dialog". There you can enter a specific numeric value and apply the change. Please note, that this works in a relative way, not absolutely! You can either undo the changes done in the dialog by hitting the Undo icon or by applying the inverse value, e.g after scaling by 50%, you may scale by 200%.
- mouse: you can move, rotate or scale the selection by holding the right mouse button pressed and moving the mouse up, down, left and right. You can switch from one transformation mode to another by clicking the respective button or by using the keyboard shortcuts. Press the following numeric characters on your main keyboard: [1] for moving, [2] for rotating and [3] for scaling. (When the Toolbox is active/selected, these shortcuts will not work. In that case, click into the Warper's main interface to deselect the Toolbox). If you would like to transform along a certain axis, you may lock it with the according buttons X, Y, Z.


 Drags the UV map from the entire object. Please activate the Textured mode and then use this function to drag the visible texture on the mesh. In the Mesh tab you may adjust the UV map more precisely.
 Zooms the UV map from the entire object. Use this function to zoom the visible texture on the mesh. Moving mouse up zooms in, moving mouse down zooms out. Again, the Mesh tab provides a more precise adjustment.
Please change to the Mask tab before using the following tools. This will show you a white texture instead of the texture chosen before.
The chapter covering the ScreenMask explains as well how to work with the mask in more detail.
 Draws on the mask on your warping object which later will hide parts of the real texture.
 Unfold the drop-down list to see all available brush types for the painting tool.
 Fills the whole texture black, which means that the mask covers everything from the texture and nothing is visible. Alternatively you may use the button [Black Mask] in the ScreenMask tab.
 Erases the black parts and thus makes the texture visible again.
 After you have selected mesh or FFD control points, you can press this button to unselect the points again, that is to clear the selection.
 Resets the position of selected mesh points. They will loose their offset (set up in the mesh mode) and go back to their origin position related to the FFD.
 Use these buttons (or the according shortcuts) to change between editing the object, the FFD or the Mesh. (When the Toolbox is active/selected, these shortcuts will not work. In that case, click into the Warper's main interface to unselect the Toolbox)
![]() Objects can be selected and edited. (Keyboard Shortcut [O])
Objects can be selected and edited. (Keyboard Shortcut [O])
![]() FFD control points can be selected and edited (Keyboard Shortcut [F])
FFD control points can be selected and edited (Keyboard Shortcut [F])
![]() Mesh control points can be selected and edited (Keyboard Shortcut [E])
Mesh control points can be selected and edited (Keyboard Shortcut [E])