Loading...

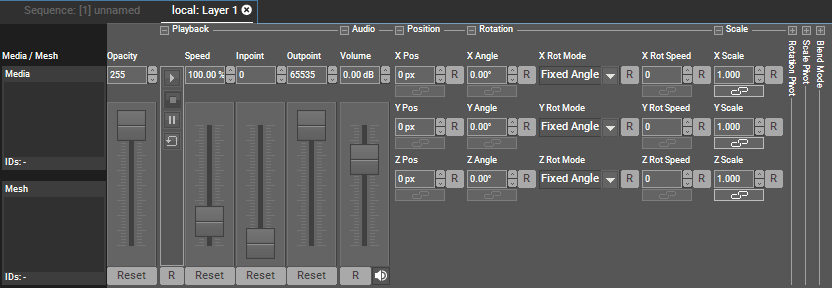
To assign a media resource (see previous chapter) to a layer, drag and drop the resource from the project tab onto the designated layer. You can also highlight the target layer by left-clicking on it and use the right-click command on the resource in the project tab "assign to active device" or just double-click on the media file. Media can also be assigned from the thumbnail browser by double clicking it for attributing it to the selected highlighted layers.
Please note: When working in a Manager-Client setup, please make sure that all media and objects are spread to all Clients so that they can render the content.
To remove the resource of the layer, right-click on the thumbnail in the Device Control Tab and choose "Reset". Alternatively you can open the media or mesh parameter in the Device Tree and after right-clicking you can choose "Reset" there.
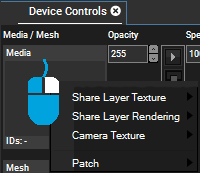
 Share Layer Texture simply loads the same texture as the chosen Layer. This way you can playback a video file (or any other content) without having to load it several times from the hard disk. This allows a better performance and saves programming time. Note that the texture only is shared. If there are effects on the linked layer, they only affect this one layer.  |
Each Layer has a default layer object which defines the mapping of the texture (your media file). The Mesh field allows loading custom object files to change this mapping behavior. The chapter Object Formats explains objects in detail and what formats can be used. You can assign and reset them as explained above.
You can control the Media and Mesh parameter externally. In general, media and mesh files can be assigned via their file names or by addressing them via the Folder and File ID. For DMX control, only the later is possible.
To assign a Folder and File ID, select the file (or folder) in the Project tab and look for the option in the File Inspector. Both, the Folder and the File ID can be assigned with a value from 1-255.
For DMX control, the chapter DMX Tables lists all parameter information, for other external control e.g. via the Widget Designer the Parameter List is of interest.