Loading...
Transform Sub Meshes mode is activated when the  icon is highlighted blue. This is the first step in 2D Mesh Editing mode. The surface can be manipulated, meaning position, rotation, and scaling, by using the control points (the eight orange rectangles positioned at the edge of that surface). The mouse cursor reflects the current edit mode. To move the surface, select and drag the surface. To scale the surface, navigate to one control point and select and drag that control point. To rotate the Mesh, navigate outside of the control point and outside of the surface. The mouse changes to the rotation icon. From here, select and drag the mouse to rotate. This can also be done through Surface-Inspector.
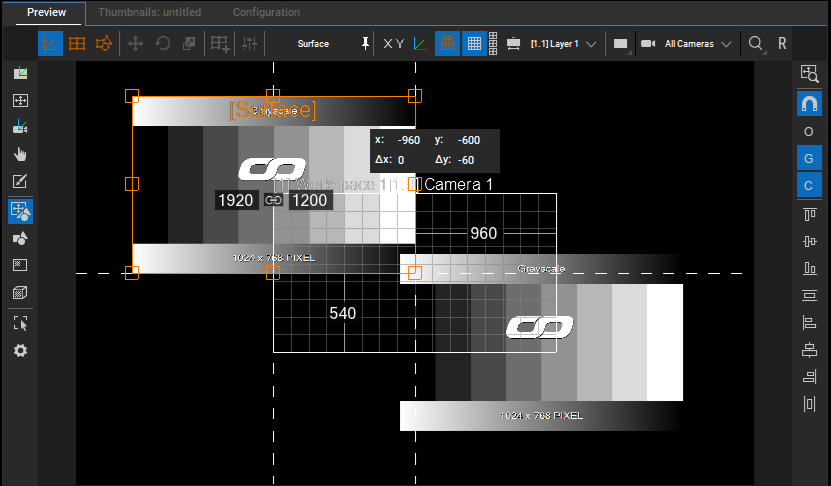
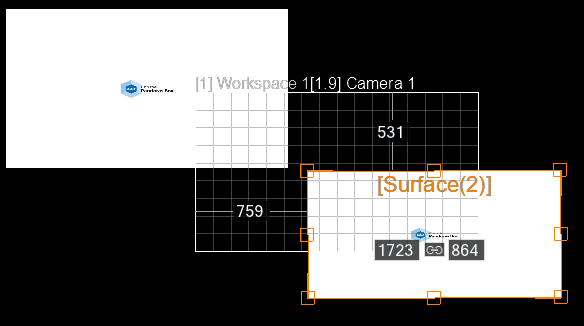
As in the Workspace, distances to other surfaces or to the Workspace edge are also displayed in Transform Sub Meshes Mode. The bounding box is not displayed around all the surfaces, unless it is selected from the editable Mesh Selection tree.
At the right side of the Preview, there are four buttons to activate respectively define snapping, which can be used during the manipulation of a mesh. If the focus is set to the Preview, you can use the shortcut [Alt + T] to activate or deactivate snapping.
Underneath the "Snapping Buttons" there are eight alignment buttons which the surfaces of a mesh can be aligned with each other.
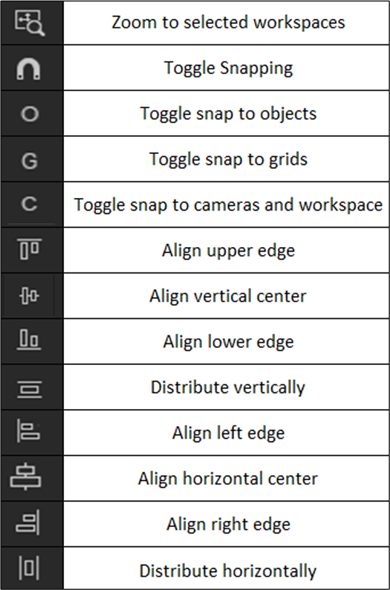 Zoom to selected Workspace
Use this to zoom to the selected Workspace.
Toggle Snapping
Select this to toggle snapping.
Toggle snap to objects
Select this to toggle snapping to objects.
Toggle snap to grids
Select this to toggle snapping to grids.
Toggle snap to cameras and workspace
Select this to toggle snapping to camera and workspace.
Align upper edge
Select this to align to upper edge.
Align vertical center
Select this to align to vertical center.
Align lower edge
Select this to align to lower edge.
Distribute vertically
Select this to distribute vertically. A minimum of three surfaces is required.
Align left edge
Select this to align to left edge.
Align horizontal center
Select this to align to horizontal center.
Align right edge
Select this to align to right edge.
Distribute horizontally
Select this to distribute horizontally. A minimum of three surfaces is required.
As mentioned above, in Transform Sub Meshes mode, users can scale, rotate, and move the Sub Mesh using the control points. Snapping can be done to other surfaces of the same mesh within the same layer only. The layer snaps according to the settings.
View the absolute and relative values during move, rotate, and scale while in this mode.
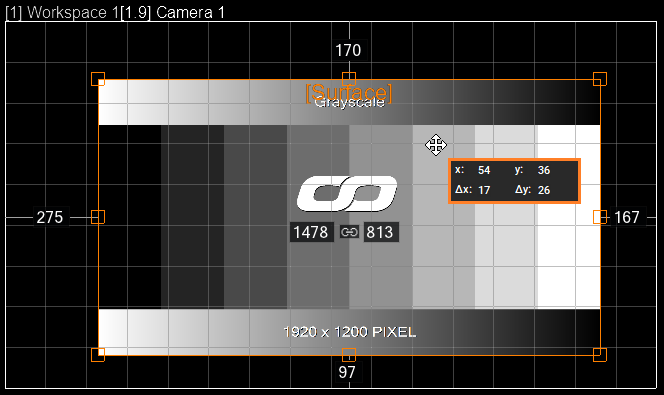 |
Move—During Move, the absolute position values in the pixels (x + y) are displayed next to the cursor. Below them is the relative shift (x: #, y: #, Δx: #, Δy: #). |
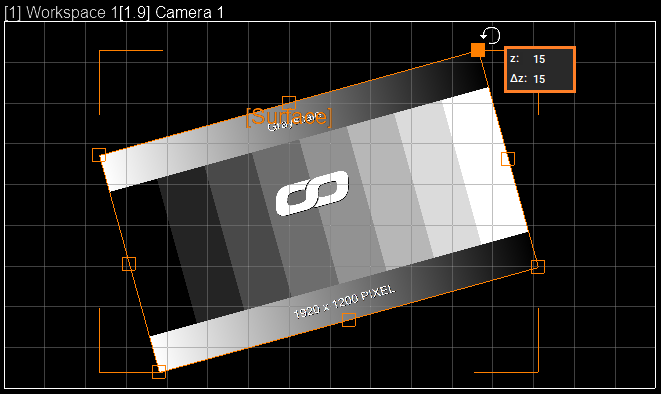 |
Rotate—During Rotate, the distance measures are hidden, and the rotation angle is displayed next to the cursor as an absolute and relative value (z: #, Δz: #). |
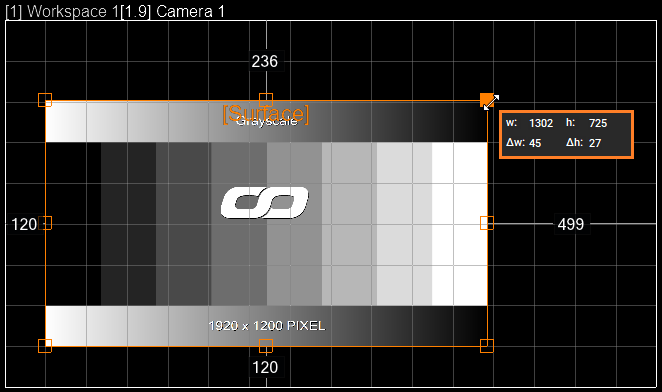 |
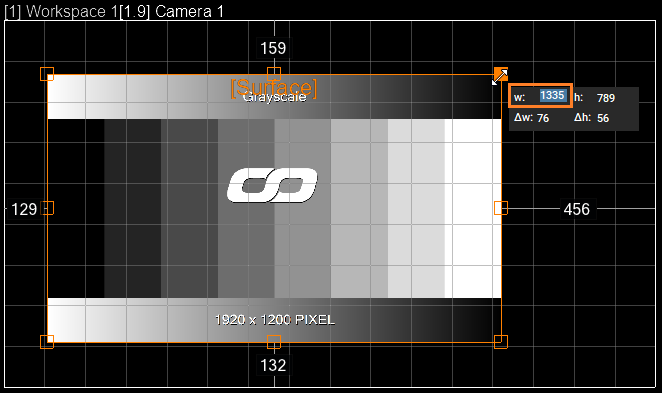
Scale—During Scale, the absolute size values in pixels (x + y) are displayed next to the cursor. Below them is the relative size change (w: #, h: #, Δw: #, Δh: #). During scaling, the size and link indicators in the middle are hidden. If you use a control point for scaling, the control point on the opposite side is fixed for scaling. You can change the behavior of scaling using the the following shortcuts: |
 |
You can manipulate the relative and absolute values for move, scale, and rotate. If "Tab" is pressed while dragging, the affected values can be edited, and the tooltip can be changed to an edit field. Move: Position values and Delta |
Sub Mesh rotation with control points on an unevenly scaled layer is disabled. The status bar will display a message "Unapplicable layer transformation. Reset layer scales to apply Sub Mesh transform in preview."

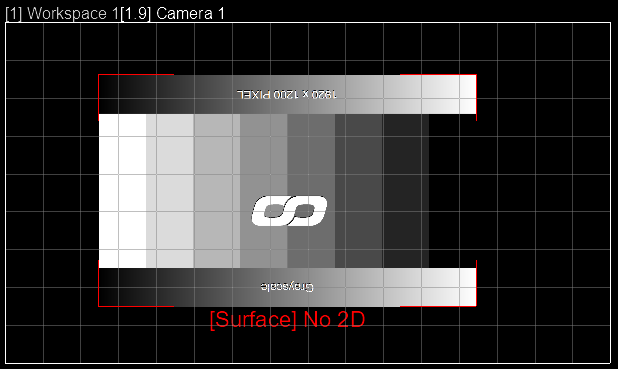
2D Mesh Editing features are disabled for sheared Sub Meshes. Also, when the mesh or layers are not in 2D plane. A warning message "No 2D" will be displayed.
The previous chapter covers
2D Mesh Editing Mode
The following chapters cover
FFD Modifier
Vertex Modifier
Tools for all 2D Mesh Editing Submodes