Loading...

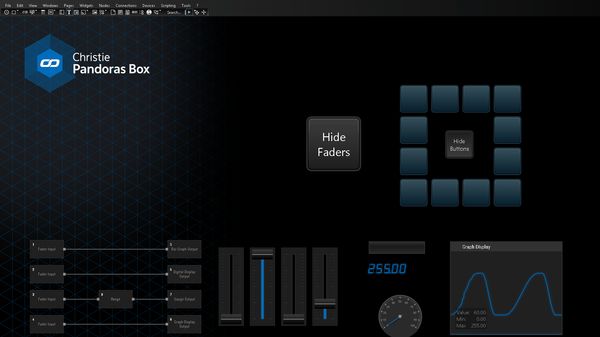
When starting WD, you will see an empty screen with a main menu bar and a toolbar containing all available widgets. The empty screen represents the main background of your application window. A right-click here opens a context menu that offers all options from the main toolbar as well.
Please see the following topics for detailed description regarding the different menus, from File Menu until Tools Menu.
The topics Project Settings and Window Settings explain how general settings can be influenced. For example, if you are creating a touch screen user interface, you can hide the standard windows borders and the icons to close, maximize or minimize the application.
The last topic within this chapter lists all available keyboard shortcuts.
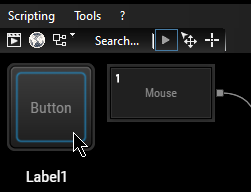
 Widget Designer has three operating modes: Shortcut to enter the run mode: [F8] |
In order to select an item, simply click on it. To select multiple elements, left-click and drag a selection frame or click on additional items whilst holding the [Ctrl] key. To draw a selection frame, hold the left mouse button whilst dragging the mouse. If you start somewhere and drag to the bottom right side, a blue selection frame appears selecting all items completely surrounded by the frame. All other directions create a green frame, selecting all items it touches. Most widgets will show a small diagonal double arrow icon at their bottom right corner. Click and drag it to change the size. All standard user control and nodes support copy and paste with [Ctrl + C] and [Ctrl + V]. If you need to delete an item, right-click on the element and click "Delete" or select it and press the delete key on the keyboard. Even though data is still calculated and processed in the background whilst being in the edit mode, controls and labels will only be updated as soon as you switch back into the run mode. Shortcut to enter the edit / move mode: [F9] |
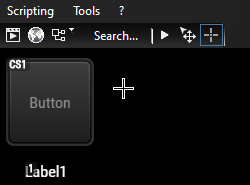
 It is possible to deactivate the create mode after creating a widget per default, please refer to Profile Settings. Shortcut to enter create mode (last widget created): [Ctrl + Shift]
|
To change properties of a control or node, right-click one and choose the first entry (..."Properties") from the context menu. In edit mode, a double-click opens the Properties dialog, too.
The edit dialogs contain different, extendable sections. Widget Designer remembers which panel is extended and which not for all other newly opened dialogs. The check box at the right side of each bar allows you to keep the panel opened when it is ticked. If it is unchecked, the panel will close as soon as another one is opened. The default behavior can be set in the User Profile.
All edit dialogs offer the possibility to "Automatically apply changes", this mode is ticked by default. All changes involving check boxes, buttons and drop-downs will be applied directly. Changing the content of a text box will take place as soon as you leave the box or press [Enter].