Loading...
This chapter explains how a single mesh can be exported from the Warper and be used in Pandoras Box. In the next tutorial there is an example with a project containing associated meshes.
When you finished your mesh, please export your file in order to use it in Pandoras Box. Choose File menu > Export Modes > Export selected.
A small browser window opens. Browse to the directory to where you want to export your mesh as an X file.
It is highly recommended to always save the warping project too. Choose File menu > Save Settings. Whilst the exported X file contains only the mesh information, the WRP file saves all other settings and the FFD data. If the projector or a screen has moved, for whatever reason, or if you would like to fine-tune / finalize your mesh, you can then simply load your warping project file (File > Load Settings) and make your changes.
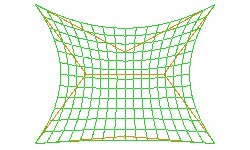
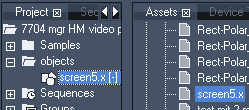
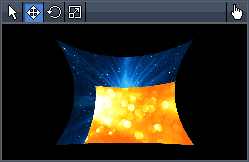
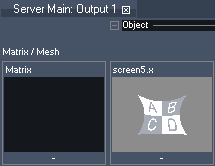
Open your Pandoras Box application in Manager mode. In the Assets tab browse to the directory to where you exported your mesh. Drag and drop this X file into the Project tab. You might need to spread the file. If you have created this file for a specific output (e.g. Output 2), assign it to the according Output layer. Now all affected layers will be deformed in the same way. If you have created it for only one layer, assign it to an available Video layer. Both scenarios are depicted in the example below.
 |
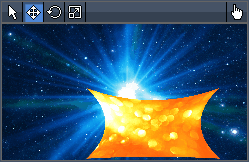
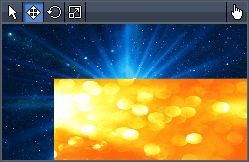 The Preview tab is shown in the left image. |
 |
  |
 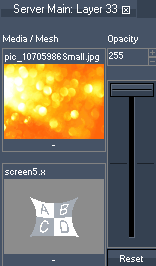 Please note that it is possible to combine these two ways: you might assign an object to a layer and to the output at the same time. Then, the image will be deformed twice. |