Loading...
See here an example for a workflow if you have to project on a screen setup as shown in the image below.
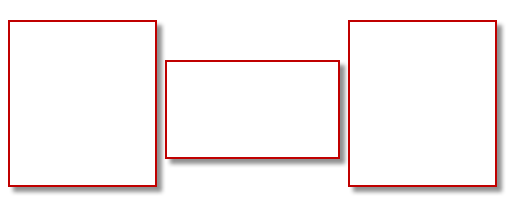
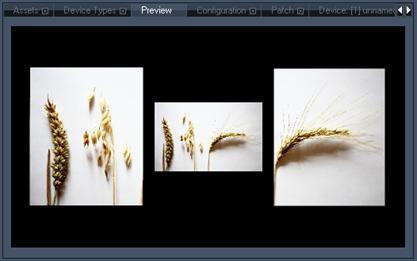
The task is to project on this screen setup in this way:
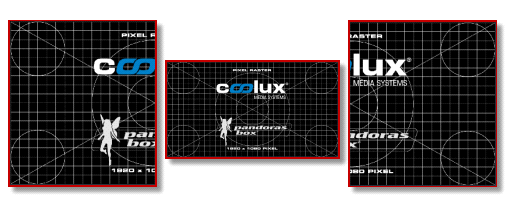
The screen in the middle should show the whole content. Each of the two side screens should show only the a half of the content.
Important:
If your setup will contain overlapping meshes, please read the information about the Z-Order as well!
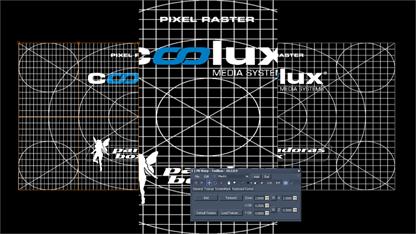
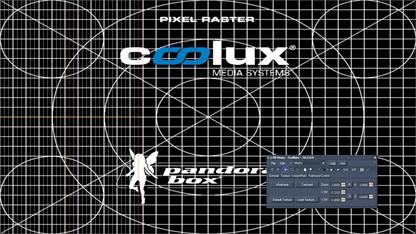 Alternatively, choose File Menu > New… > Triple. The project contains three side by side meshes as seen in the left image. One texture is applied to all three meshes at the same time. |
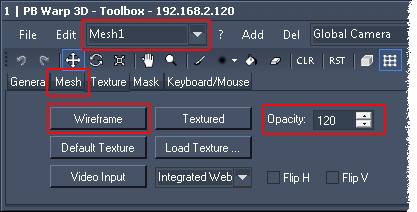 Now, the FFD and mesh lines of the selected mesh are better visible. To change the selection, use the according drop-down menu in the Menu bar (the so called mesh selection). For the next step, select the leftmost mesh, Mesh1. |
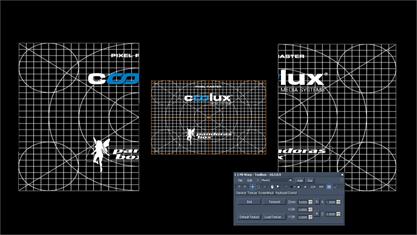
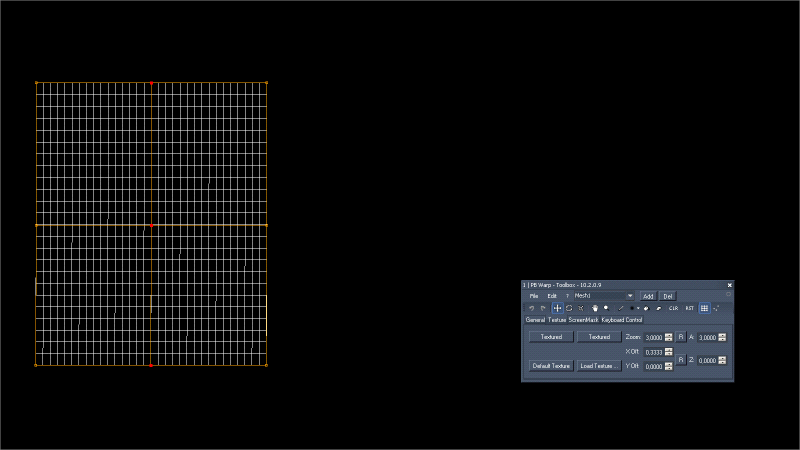 Mesh 1 is now modified in order to cover the first screen in our setup. You can either work with FFD points by moving or scaling a multi-selection of them, or you can scale the entire mesh whilst being in the object mode. The previous tutorial shows different ways how to do this. Mesh 1 is now modified in order to cover the first screen in our setup. You can either work with FFD points by moving or scaling a multi-selection of them, or you can scale the entire mesh whilst being in the object mode. The previous tutorial shows different ways how to do this. First, adjust the outer FFD points so that the borders of your projected mesh exactly fit to the borders of the left screen. The mesh segments should all have the same size as well. This can be adjusted by moving the inner FFD points. |
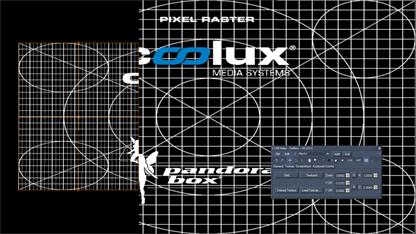 Up until now, the mesh's width is covered with a third of the texture. That means, the entire texture is zoomed with a factor of 3. At the same time the height is not covered with only a third of the texture, but the entire texture height. Setting the aspect ratio to 3 as well, zooms the height back in. The last setting is the X Offset. For now, it is set to 0.3333 in order to shift the image 1/3 (of the image width) to the right side. If you would like to, you can reset the settings and try to find the solution for the task by yourself... |
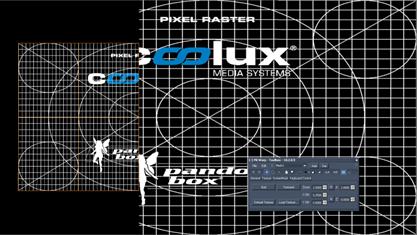
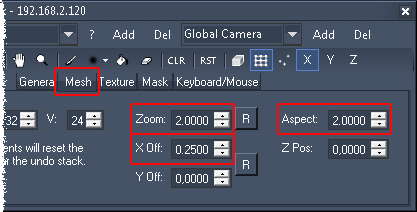 - see half of the content's width => set the Zoom to 2 Why 0.25? We see half of the content on the mesh, in other words, one quarter is "behind" the left edge and the other quarter behind the right edge. So, to see the leftmost pixel we must shift the texture by 1/4 of the texture to the right side. One quarter is 0.25 and "to the right" requires a positive value. |
 |
 |
 - see all of the content's width => set the Zoom to 1 |
 Go to File > Export All and choose the file location. All three meshes will be combined in the newly created X file. Use this object on the Output in Pandoras Box. |