Live Warping |


|
Live Warping |
|
Live Warping |
|
Live Warping |
|
Loading...
The live warping feature (previously known as dynamic warping) allows to have non-static objects on a layer. While projecting, the mesh can be influenced in real-time. Another feature - Morphing - allows to fade between two or three saved meshes.
Please note that those features are not available on former Pandoras Box Player Systems!
- For the next steps advanced features will be used, please go to "Edit" > "Advanced Mode" to toggle between the basic and advanced user interface where all features are visible in the menus and tabs. |
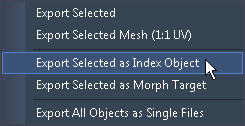
- Export the selected mesh as an index object (as the previous mentioned step influences the object, the export has to be done each time you change the FFD and mesh count). To do this go to "File" > "Export Modes" > "Export Selected as Index Object". Save the X file. If the PB Manager is connected and a project is opened, all exported objects will be automatically loaded into this project. If you start the project later drag and drop your saved object from the Asset tab to the Project tab. |
|
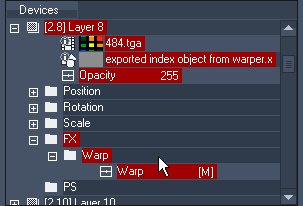
- Now, as soon as you edit the FFD or mesh in the Warper the layer in PB will not look like one line anymore. From now on it is influenced in real-time according to the mesh in the Warper. |
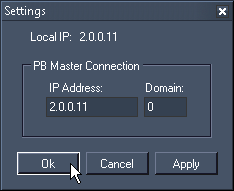
- As this feature is based on an Art-Net communication make sure that Pandoras Box and the Warper are set to an IP address 2.x.x.x and Subnet Mask 255.0.0.0. 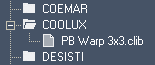 |
 |
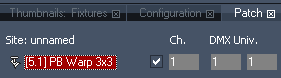
- Then, go to the "Configuration" tab, open the section "Remote Control Protocols" and press the button Art-Net "Activate Output". |
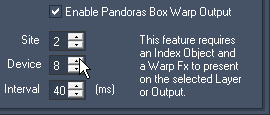
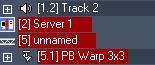
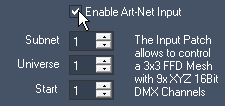 - Go to the "Live Warp" tab, tick the check box "Enable Art-Net Input" and patch the Channel as done in the previous step. - Now, as soon as you change the parameters within the warp device in PB, the FFD points and therefore the mesh are influenced. - Instead of the warp device in PB you can use any Art-Net sending device to control the FFD in the Warper. - Of course this feature can be combined with the above mentioned feature and the Warp FX. If you do this you are limited to a 3 x 3 FFD. |
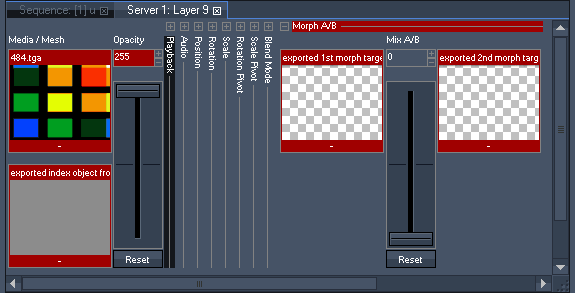
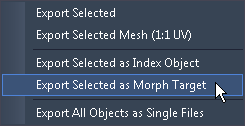 - Then deform the mesh as you wish to have it when starting the morph process. - Export this state as the first Morph Target (as the previous mentioned step influences the file, the export has to be done each time you change the mesh). To do this go to "File" > "Export Modes" > "Export Selected as Morph Target". Save the PNG file. If the PB Manager is connected and the Warper is set to its IP address and domain and if a project is opened, all exported objects will be automatically loaded into this project. If you start the project later drag and drop your saved object from the Asset tab to the Project tab.. - Do the same for the second (and third) status of the mesh. These states represent the in-between look or how you wish to have the deformation when the morph process is finished. |
- Go to the "Aeon FX" tab > Folder "Geometry" > drag the effect "Morph A-B" (or "Morph A-B-C)" onto the layer. - When you have a morph sequence, import it as an image sequence in Pandoras Box or convert it to an AVI video file, e.g. using the Image Converter tool or to a lossless video format from the coolux codec. |