Loading...

PB offers audio and video playback synchronization to the audio clock via its dedicated Audio Tracks. The Pandoras Box Software License offers unlimited Audio Tracks. To add one, simply right-click the Site in the Device Tree and choose "Add Device".
Please note that a dedicated ASIO device or native Dante need to be setup in the "Configuration tab > ASIO Audio". Pandoras Box supports all common ASIO sound cards. The chapter "Input and Output Cards" lists all boards we offer. Additionally, PB supports Dante natively since version 8. Pandoras Box Licenses are natively supporting 32 input and 32 output channels without the need of any hardware, driver configuration or licensing.
Audio tracks can play and synchronize:
- PCM Wave files
16, 24 or 32bit
mono and stereo
sample rate should be supported by sound card
- audio channels from input cards
embedded audio channels from HDMI 2.0 input cards or 12G-SDI Input Cards or dedicated audio channels from audio inputs cards
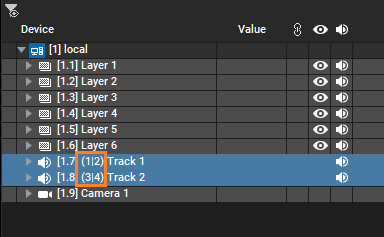
in- and output sample rate should match. For a quicker overview, view the patching values from the Inspector Audio Layer in the Device Tree.

As explained in the chapter "Audio Formats", another possibility to playback sound is, to use a Video Layer but in that case it cannot be synchronized. The chapter about the Configuration tab "ASIO Audio" includes more information regarding ASIO and Dante support, e.g. synchronization and channel settings.
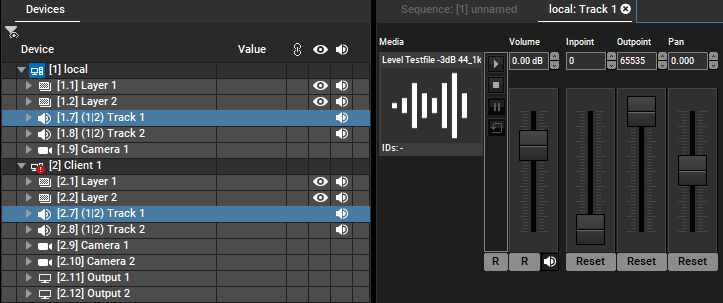
The Audio Track includes the following sections: Information about DMX Control is included, addressing customers who wish to remote control a layer with a lighting desk via DMX or Art-Net. If you would like to use the Widget Designer or another application instead, please refer to this parameter list.
Media
Playback Transport
Volume
Inpoint/Outpoint
Pan
The Waveform parameter is not editable. It simply displays the audio peaks in the Sequence when the parameter is visible. In case you would like to align other content (of Video Layers for example) as accurate as possible it is recommended to zoom in closely. Use the [+] key on the main keyboard or the Zoom-in icon  in the Sequence Button Bar to do so. There, you may also find the drop-down for changing the line height
  which enlarges the waveform accordingly. You can choose between two waveforms, a standard one with positive and negative peaks or a a rectified waveform with only positive peaks. You can find this setting in the Configuration tab > User > Sequence > Clip settings.