Loading...
This chapter explains the various handles that can be rendered in the Preview to help you in your programming. For other topics regarding the Preview tab please see the introductory chapter.


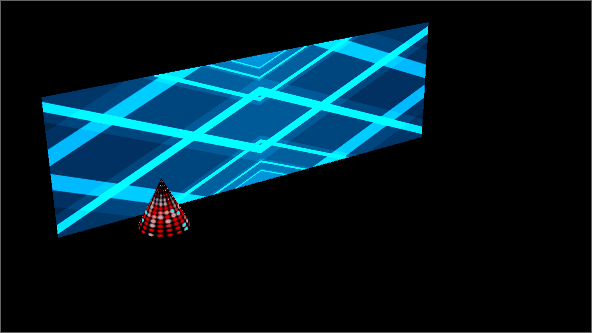
The left image shows the Preview with only the layers visible.
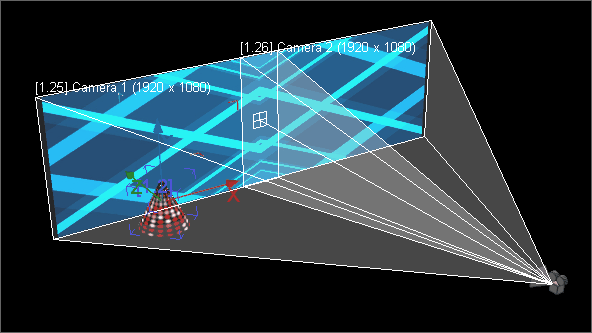
For the right image all handles are turned on:
 - Gizmo
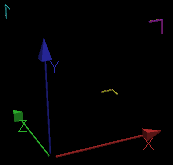
In the example, the Gizmo is depicted on the Layer with the red cone. It is the icon with three axes in the colors red, green and blue. Many objects in Pandoras Box have a Gizmo: Layers, Cameras, Mesh points, etc. but they all work in the same way.
Enter the Layer Mode and click the "Gizmo Visibility" button  . Now, activate the Move Mode and change the Layer's position by dragging one of the axes. Note that the axis highlights as soon as the mouse cursor touches it. When the mouse touches one of the corners (e.g. the yellow one) both associated axes highlight (red and green).
A Layer can be moved, rotated and scaled and each transformation has its own Gizmo. The center of each Gizmo marks the Layer's Pivot Point for the selected transformation. For more information see the next chapters about the Layer and Camera Transformation Mode, the Rotate and Scale Mode and the Pivot.
As said above, not only Layers have Gizmos. Depending on the mode you are in, the "Gizmo Visibility" button toggles Gizmos from other objects.
 - (Camera) Frustum and Wireframes
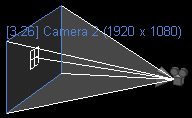
The "Camera Visibility" button  toggles the Camera icon and the Frustum to visualize the opening angle and Look-at point. The Frustum includes the Camera Wireframes (here in white) and Area (in blue) plus the name (also blue). The Frustum's appearance can be changed in the Camera Inspector tab.
A Camera can be moved with the Gizmo in the same way as described above. The blue highlighted Camera area can also be dragged.
The "Camera Visibility" button can be found in the Layer and in the Camera Transformation Mode. In case the Camera Frustum Visibility is toggled off, only the blue rectangle and name is shown. To switch these items off, please go to the Configuration tab > Preview Display.
Following the Camera's visualization, a Light Device has its own icon and Frustum. The style can be changed in the Light Inspector. The visualization is not influenced with the "Camera Visibility" button but can be toggled in the Configuration tab > Preview Display.
The Configuration tab > Preview Display offers more settings influencing the appearance in the Preview for example Ground Grid and shading settings. All settings are also available for the Client Display under Configuration tab > Client Display.
The next chapter explains the Layer and Camera Transformation Mode.